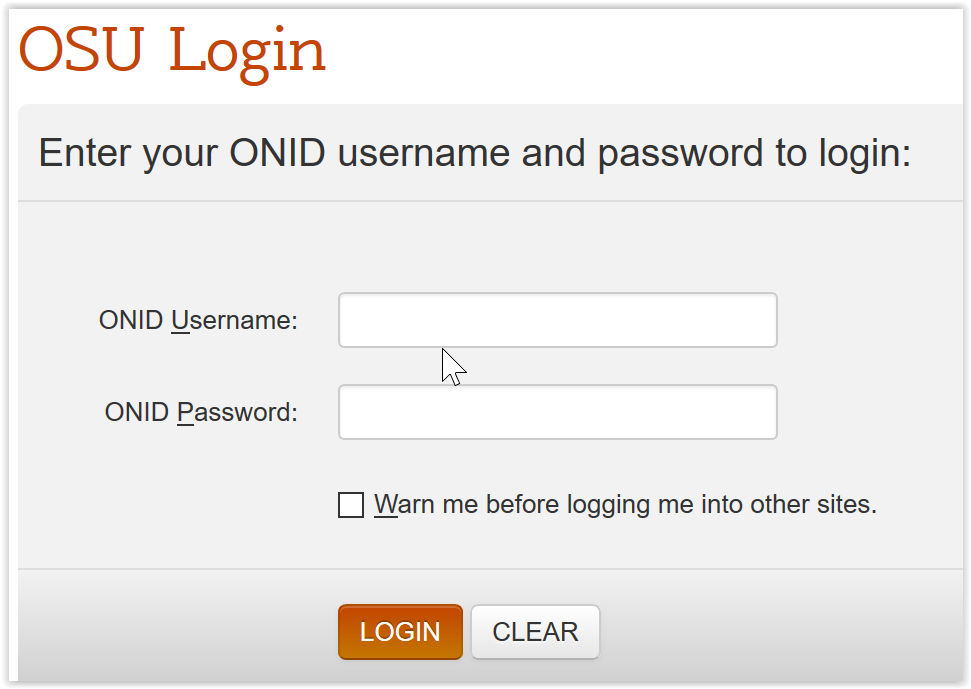
Note: you may not see this login screen if you have already logged into OSU Single Sign On
Main page
Your view of the main page depends on how you interact with the system. Click on the “Review Applications” button on the right side of the page.
Application Console
Multi-application view
Step 1: Click on the “Get Apps” button
Step 2: STOP!
The first time you download applications in the Application Console the system may take an unexpectedly long time to respond. This is expected. The best course of action is to click on the “Get Apps” button and step away from your computer. This may be a good time to get a cup of coffee so the system can do what it needs to do.
Note: this long load time is only expected to occur the first time you come to this screen. If it happens regularly please contact: [email protected]
Multi-application view summary
A) Majors displayed
Click on the drop-down list to select the applications for a specific major or choose “--ANY--" to see all majors you have access to.
Note: when you select a new value the screen will pause for a couple of seconds and then the page will reload.
Note: to select a new major after selecting an individual major it is necessary first to select “--ANY--" and then select the new major.
B) Get Apps Button
Click on the Get Apps button to view applications. Note that the first time you download applications the system may take an unexpectedly long time to respond. This is expected. The best course of action is to click on the “Get Apps” button and step away from your computer. You may even see an error message pop up that indicates that there is a slow script running – do not cancel the script, your patience will be rewarded. This may be a good time to get a cup of coffee so the system can do what it needs to do.
Note: this long load time is only expected to occur the first time you come to this screen.If it happens regularly, please contact: [email protected]
C) Download status
The status text will show how many applications have been loaded, how many there are total and the systems current status. The current status will show “requesting more apps” while downloading applications and when all applications are retrieved/downloaded the “complete” status will display.
Note that there is a known display error with the current status text. The system will only show the download status in increments of 1,000, so if you have more than 1,000 applications you’ll see: downloading X of 1,000 (where X is the number of applications under 1,000 in increments of 100) until the download is complete.
D) Column Headers
The columns display information about application questions. The columns can be re-ordered by selecting the column header, holding down the left mouse button and dragging the column to the desired location. The list of applications can be sorted by clicking on the sort button in the column header. Click once for ascending order and click a second time for descending order.
Note: column order and sorting can be saved by using the Views button (see I below).
E) Global Search
Search for any answer in the currently downloaded set of applications. For example: search for a record by typing in the major, a name or OSU ID. All filters currently being applied to this view are displayed in the Filter Info section (see K below).
F) Page Number
Displays the current page number, total number of page numbers and a Next and Previous button.
G) Column Display
Clicking the “Show / hide columns” buttons displays a modal with nearly every question on the set of applications retrieved/downloaded (some questions are of less value in a multi-app display and are not available).
Note: it is necessary to use the horizontal and vertical page scroll bars to view all available columns.
H) DAF Button
The DAF button displays a small modal which allows the user to show DAF fields or begin the DAF process.
Note: if you do not have DAF permissions you may still see the DAF buttons, but you will not be able to start the DAF process.
I) Views Button
Overview of Views
There are two types of Views: Default View and Saved View, each is described in greater detail below. In general, a View consists of a specific dataset of Major(s) and any View Modifications including visible columns, column order, global search, column filter and column sort.
An important concept is that data is downloaded into a view, a view is not “applied” to data. For example, the steps involved in using a saved View include first loading the saved View and second downloading data into that View. Further, every dataset (defined by the chosen Major(s)) has its own Default View. In other words, an individual View is used by one and only one dataset. By that same token Views are not shared between Users. Each User must define their own preferred Default View for each dataset.
Default View
The Default View is the currently visible View. It is the View used when a dataset is downloaded and is updated with every View Modification. In other words, when loading the dataset for a specific major (or “—ANY—“ major) the Default View for that dataset is how it will be viewed. If any View Modifications are applied, then the Default View is modified and when the dataset for that specific major is next loaded it will show that modified Default View. If the dataset is changed (a new major or “—ANY—“ is chosen) then the Default View for that new dataset will also be loaded. Note that the Default View (and therefore any View Modifications) is not applied to a new dataset until all of the data has been downloaded.
Saved Views
Saved Views are a mechanism by which up to 5 different Default Views for each dataset can be saved and later recalled. A Default View can be saved by clicking on the Views Button, then one of the 5 View slots, and then “Update View # with current view.” Click OK on the popup that asks if you want to overwrite the view saved in that slot.
To load a dataset into a previously saved view: choose the preferred dataset, follow that same instructions as above but click on “Show View #”. This will set the Default View to the View previously saved in that slot. Now click the “Get Apps” button to load the dataset into the current View.
View Actions
Show Default View
This is like a ‘factory reset’ for the Default View and will remove all View Modifications from the Default View for the current dataset.
Reset Saved Views
This is like a ‘factory reset’ for all of the Saved Views and will remove all modifications from all Saved Views.
J) Export Button
Use the Export Button to export the downloaded dataset. After clicking the Export button, choose to export the data in the currently Visible Columns. Note that this includes the visible data and only the visible data; all View Modifications will apply to the exported data. In another word if the Default View is not showing all data in this dataset (due to a Global Search filter or Column Filter) the export will also not contain that filtered data. Use the Visible Columns button to export all data (no filters applied) for all available columns.
Note: it is currently possible to go through the motions of exporting data without first downloading a dataset. Unfortunately, doing so will result in the creation of a .csv file without any data in it.
K) Filter Info
Displays filters being applied to the downloaded dataset includes Global Search and Column Filters. Note that Filter Info will not display (nor apply) until data is fully downloaded.
L) Number of records displayed
Click on the drop-down list to change the number of records displayed on the page to: 10, 25, 50 or 100.
M) Showing X to Y of Z entries
Provides information about the first record (X), last record (Y) and a total number of records (Z) in the current dataset.
N) View Application Link
Click “view” text to open Single App View page in a new tab
O) Column Filters
One of two types of Column Filters will display at the bottom of a column depending on the type of data in that column. If the column holds standardized data, such as from a drop down or singles select answer, the Column Filter will only show available answers from the downloaded dataset. In other words, if the answer on the application held 5 possible answers but the applicants within this data set only chose 3 of those 5, then only those three will display in the Column Filter. Note that a dash (-) appears in the list indicates that there are records with no value in this column.
If the column holds non-standardized data, such as OSU ID and name, then the Column Filter will show a text field so the user can enter the text search the data in that field and filter the dataset.
P) Dataset Horizontal Scroll Bar
Use the Dataset Horizontal Scroll Bar to scroll to the right and view additional columns. Note that this horizontal scroll bar should not be confused with the page scroll bar which will be necessary when using the “Show / hide columns” button.